14 May 2026
Chikankari Stitching & Neckline Design Ideas for Unstitched Suits
How you stitch a chikankari suit decides how the embroidery reads. Neckline shapes, sleeve and shirt-length choices, and how to cut without losing the work you paid for.
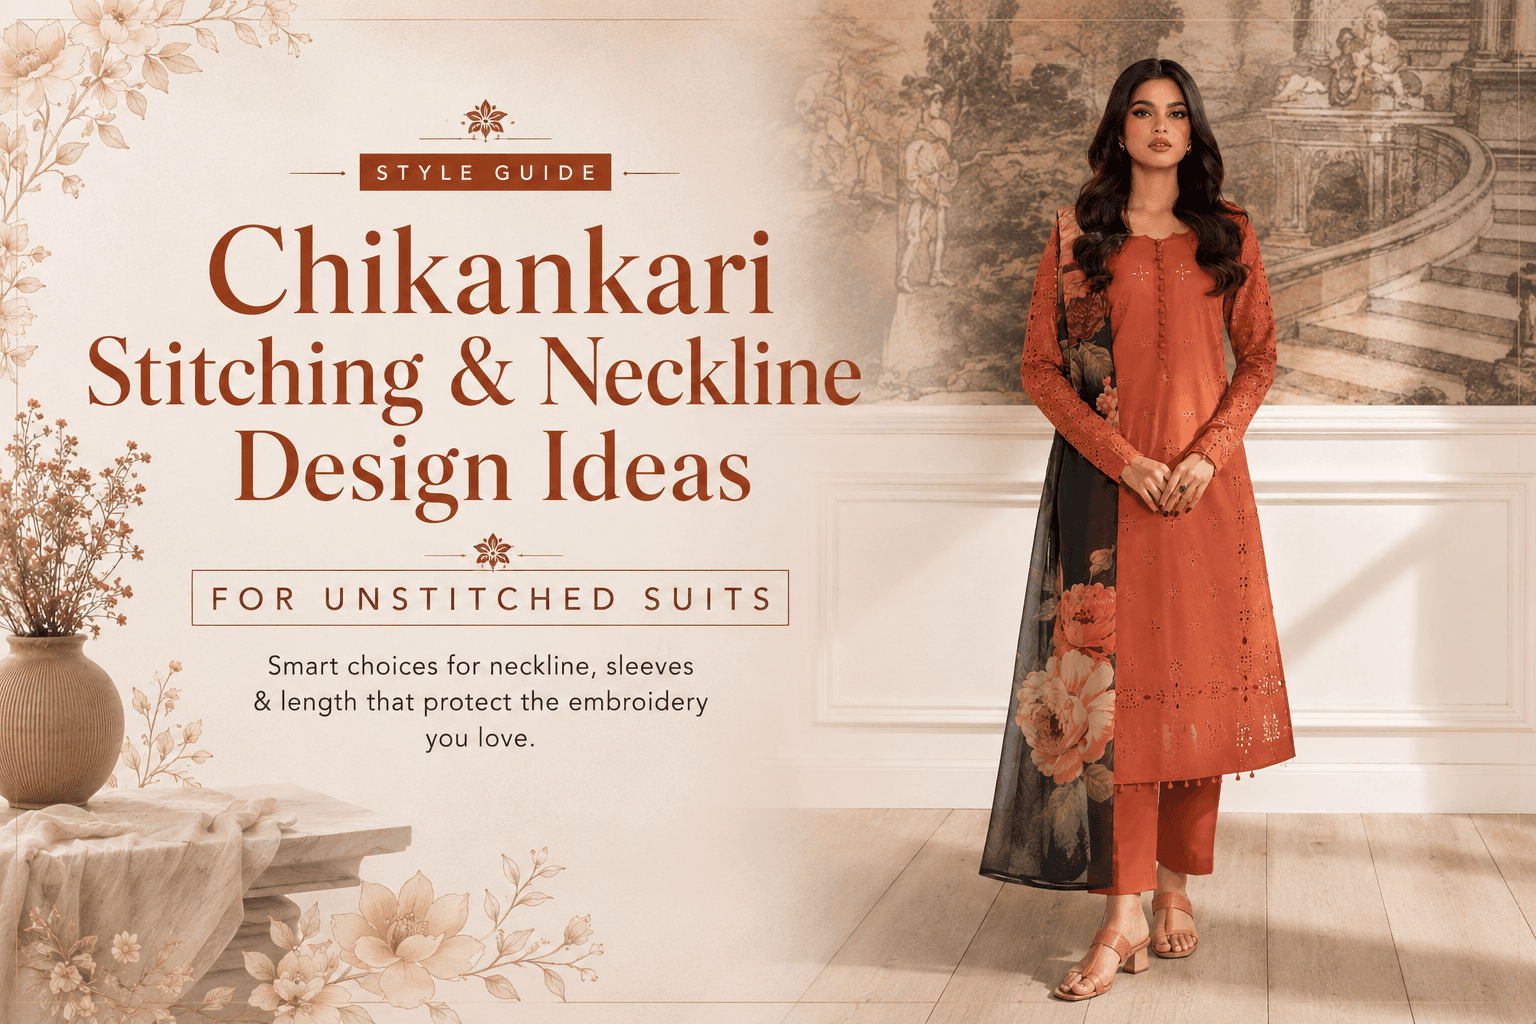
With chikankari the neckline is a cutting decision before it is a style decision: the embroidery is worked to a layout, so the shape you choose has to respect where the motifs already sit. Decide the neckline against the fabric laid flat, not from a photograph — that single step prevents the most common and least fixable mistake.
Chikankari suits are sold unstitched, which means how the finished garment looks is largely up to you and your tailor. These are the choices that matter, and the order to make them in.
Why the neckline decision comes first
On a plain fabric a neckline can be cut anywhere. On an embroidered piece it cannot. The work is placed for a particular yoke and neck opening, and a deep or wide cut can remove the densest part of it — or leave a motif cut in half at the edge of the opening.
Lay the shirt piece flat, find where the embroidery is heaviest, and choose a shape that keeps that concentration intact. If you want a deeper neckline than the layout allows, it is better to know before cutting than after.
Which neckline suits a chikankari shirt?
- Round neck. The safest with any layout, and the least likely to cut into placed work. On a heavily worked yoke it is usually the only sensible choice.
- V-neck. Lengthens the line and works well when the embroidery runs vertically down the front rather than across a yoke. Keep the depth modest so the point does not land in the middle of a motif.
- Boat neck. Wide rather than deep, so it preserves centre-front work while opening the shoulder line. Best on pieces where the embroidery sits low or is spread evenly.
- Square neck. Structured and contemporary; frames a worked yoke well, but needs an even layout because the corners expose any asymmetry.
- Collared or band neck. More traditional and the most fabric-hungry at the opening. Suits plainer chikankari where the work is on the sleeves and hem.
How the shape should follow the embroidery
A useful rule: cut the neckline in the same direction the embroidery runs. Vertical front panels suit a V or a narrow round; a horizontal yoke of work suits a boat or a square. Cutting across the direction of the work is what makes a finished shirt look slightly wrong in a way that is hard to name.
You can see the difference in how pieces are laid out. The green chikankari suit with a contrast dupatta carries work across the shirt and the sleeves, which gives you room for a wider neckline; a piece where the work concentrates at the centre front rewards a narrower shape.
Sleeves and shirt length
Sleeve embroidery is the detail most often lost at the stitching stage. If the sleeve is worked to the cuff, shortening it removes the densest part of the design — so decide sleeve length before anything is cut, not after a first fitting.
- Three-quarter sleeves are the most wearable in heat and usually keep sleeve work intact.
- Full sleeves show the whole design but need accurate measurement to avoid bunching at the elbow, which distorts the embroidery.
- Shirt length should be set against the hem work. A worked hem is part of the design; cutting above it discards it.
Finishing details worth considering
Chikankari is fine, tonal work, so heavy finishing tends to fight it. A few things that work with it rather than against it:
- Piping in a tone from the thread rather than a contrasting colour — it defines the edge without introducing a second idea.
- A simple faced neckline instead of a wide band, which keeps attention on the embroidery.
- Matching thread for all seams. Contrast topstitching competes with fine thread work.
- Lining choice. Because lawn is light, what sits behind it affects how the embroidery reads — a tonal lining keeps the work looking crisp.
Choosing a piece with stitching in mind
If you already know how you want a suit stitched, buy for that. A design with work spread across the shirt gives you the most freedom in neckline shape, while a concentrated yoke design commits you to keeping that yoke intact. Browsing the chikankari suits collection with the layout in mind — rather than the colour first — tends to produce a better finished garment.
Pieces where the dupatta carries the pattern, such as the peach chikankari suit with a printed net dupatta, leave the shirt simpler and therefore easier to cut freely. If you are still deciding on the embroidery itself, the guide to what chikankari is and how it is made covers the stitches and how to read quality.